Showing posts with label recipe. Show all posts

Monday, March 26, 2012

Anadama Bread

I was in a bread baking mood the other day and decided to use what I had on hand...this is the recipe I selected: Anadama Bread.  It's very hearty, not sweet, but makes for a solid sandwich bread or a great option to pair up with soup.  It was very easy to put together and came out well!


ANADAMA BREAD
recipe from The America's Test Kitchen Family Cookbook

Makes 1 9 inch loaf
Prep time: 5 minutes
Total Time: 3 hours plus cooling

INGREDIENTS
1 cup whole milk (I used skim and it worked fine)
4 tbsp (1/2 stick) unsalted butter
1/2 cup plus 1 tsp stone ground cornmeal
1/2 cup water, warm
5 tbsp light or dark molasses
3 1/4 cups all purpose flour (I used whole wheat - had a nuttier flavor but good)
1 envelope (2 1/4 tsp) instant or rapid rise yeast
2 tsp salt

DIRECTIONS
1. Bring the milk and 3 tbsp butter to a simmer in a small saucepan over medium heat.  Whisk in 1/2 cup of the cornmeal and cook for 1 minute, stirring constantly.  Transfer the mixture to a medium bowl, whisk in the water and molasses, and let cool until lukewarm (100 degrees F) about 10 minutes.

2. Mix 3 cups flour, yeast, salt, and cornmeal mixture together in a standing mixture with the dough hook.  Knead on low speed until the dough comes together, about 1 minute.

3. Increase the speed to medium-low and knead until the dough is smooth and elastic, about 10 minutes.  (If, after 5 minutes, more flour is needed, add the remaining 1/4 cup flour, 1 tbsp at a time, until the dough clears the side of the bowl but sticks to the bottom.)

4. Turn the dough out onto a clean counter and knead by hand to form a smooth round ball, about 1 minute.  Place the dough in a lightly oiled bowl and wrap tightly with plastic wrap.  Let rise in a warm place until doubled in size, 1 to 1 1/2 hours.

5. Turn the dough out onto a clean counter and gently press it into a 9 inch square.  Roll the dough into a tight cylinder and pinch the seam closed.  Place the loaf seam side down in a 9 inch loaf pan, wrap tightly with plastic wrap, and let rise in a warm place until doubled in size and the dough springs back slowly when indented with a finger, 1 to 1 1/2 hours. 

6. Adjust an oven rack to the middle position and heat to 350 degrees.  Bring a kettle of water to boil.  Melt the remaining 1 tbsp butter.  Brush the loaf with butter and sprinkle with remaining cornmeal.  Set the loaf pan on the rack and place an empty metal loaf pan next to it.  Fill the empty pan halfway with the boiling water.  Bake until golden and the center of the loaf reads 200 degrees on an instant read thermometer, 40 to 50 minutes.  Flip the bread out onto a wire rack and let cool to room temperature before slicing, about 2 hours. 

Sunday, March 25, 2012

Gingered Carrot Sweet Potato Soup

Thought I'd share a delicious and easy soup recipe!  It may be spring (or even feeling like summer on some days) but this light soup is nice any time of year. The fresh flavors will lift you up!


I found this recipe in Better Homes and Gardens (I know...) but its very good and so simple!  This would go well with some homemade bread or croutons.  I heated it up the next day for lunch and it was even better - the flavors had a chance to marry nicely.  Try it out!

Gingered Carrot Sweet Potato Soup

1 lb carrots, peeled and thinly sliced
1 large sweet potato, peeled and cut into 1/2 inch cubes
3 14.5 oz cans reduced sodium chicken broth (I used vegetable broth)
1/2 cup soup cream or creme fraiche (optional)
2 tbsp finely minced green onions or snipped fresh chives - optional (I used parsley)
1 19 oz can no-salt added cannellini (white kidney) beans, rinsed and drained
salt and pepper to taste
(And you know I added hot sauce, right?)

1. In a Dutch oven combine carrots, broth, potato, and ginger.  Bring to boiling.  Reduce heat. Simmer, covered, 10-12 minutes, until vegetables are tender.  Meanwhile, in a small bowl combine sour cream and green onions; set aside.

2. In blender (I used a food processor), puree vegetables with beans, one fourth at a time, removing cap from blender lid and holding folded kitchen towel over opening.  Season with salt and pepper.  Top servings with sour cream mixture.  If desired, sprinkle with additional green onions and ginger. 
4 servings. 


Sunday, January 29, 2012

S'mores Brownies

The end of January is upon us, but BBQ season is still quite a while away.  What's a girl to do for her S'mores fix in the middle of winter? 


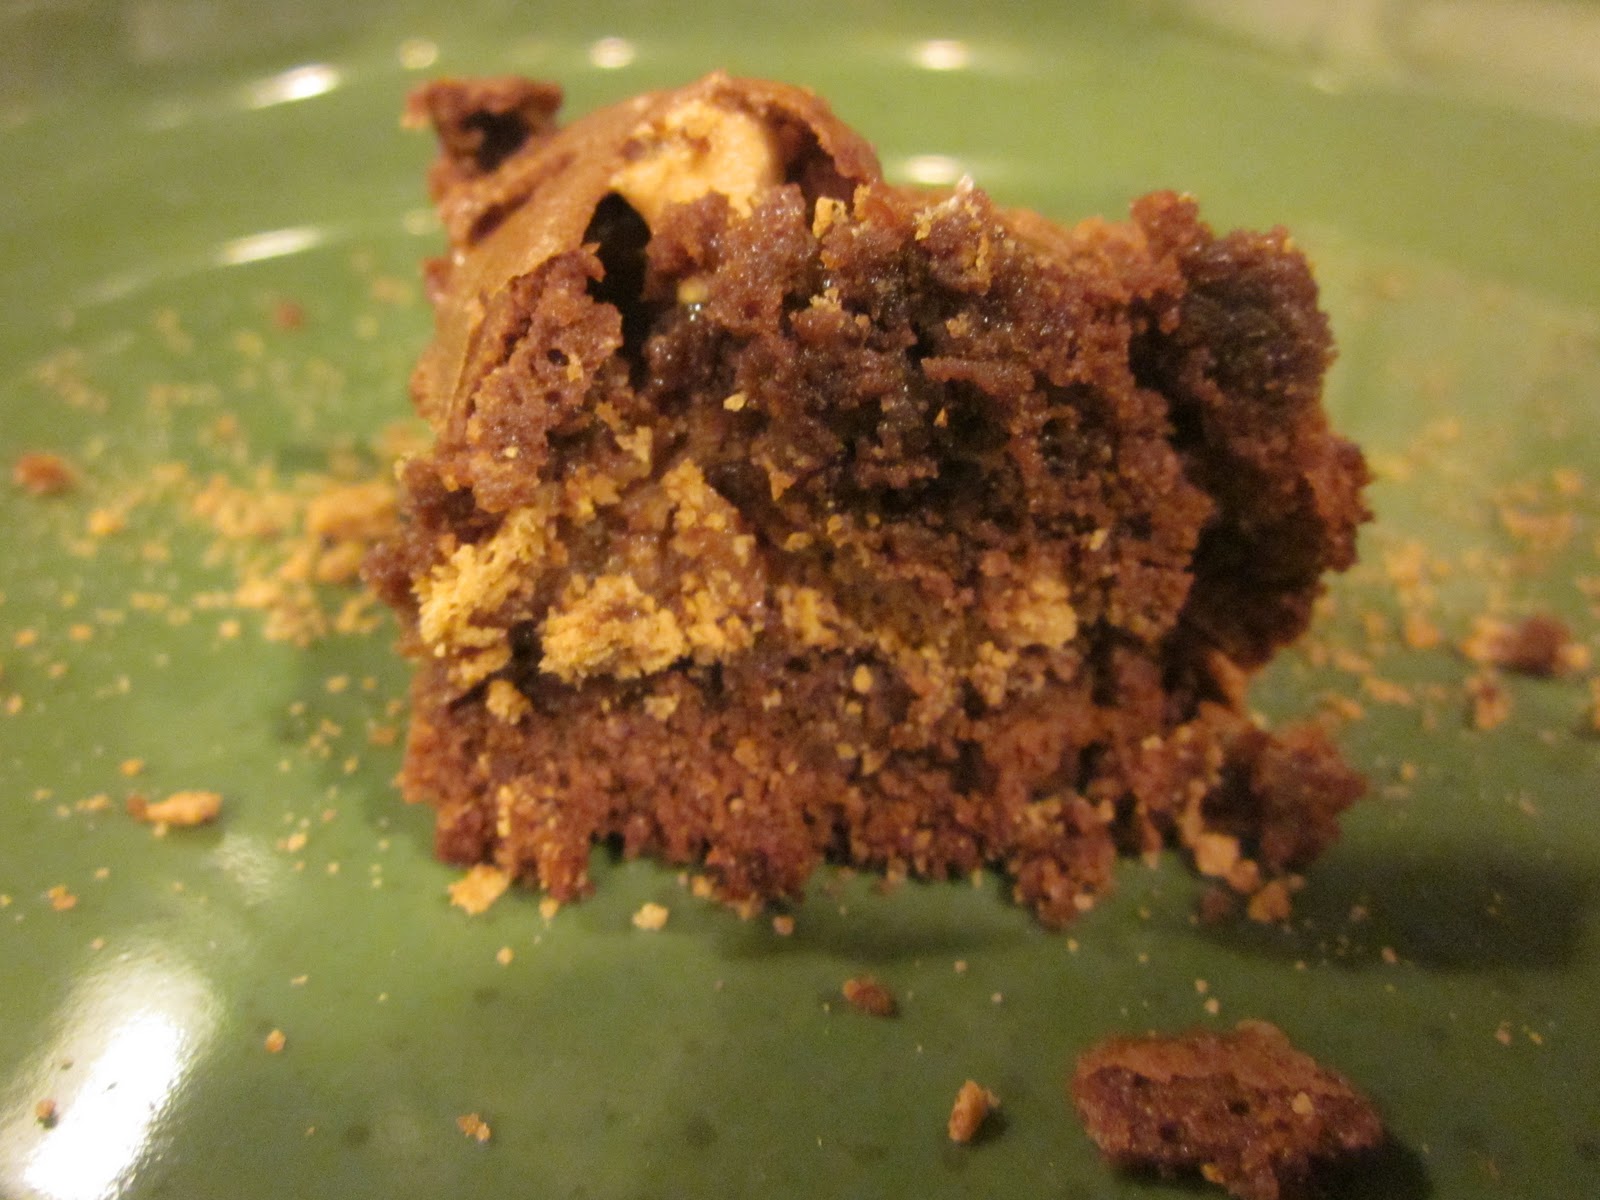
Ta da!  S'mores Brownies!  I came across this recipe in Better Homes and Gardens (I know, I'm the oldest 30 year old girl you know...) and figured I would give it a shot.  Plus, I happened to have an extra bag of marshmallows taking up space in my drawer leftover from the summer.  They came out a little weird - but not too bad!  I might use less graham crackers next time, and up the batter but overall I don't think I will get any complaints from my taste testers tomorrow.  Enjoy!

Monday, January 16, 2012

Corny Cornbread

Once again...not much going on this 3 day weekend - which gave me plenty of time for cooking and crafting!  It's kind of nice to have some time to do whatever you want! 


I felt like baking a bread-like product but was desperately low on flour, and not about to venture out into the frigid air to Pathmark.  (Damn it is cold this weekend!)  I happened to have a plethora of cornmeal so cornbread it was!  I used Mark Bittman's recipe from How to Cook Everything Vegetarian - an awesome book that I've referred to more than once on this blog.  It came together quickly and easily, although a little bland.  Next time I might add some more spices, or some canned corn or veggies, or cheese or something to kick it up a bit.  As is though, a great staple to throw together and serve with chili or what have you. 

Try it out!  Let me know what add ons you enjoy in your cornbread.

Wednesday, January 11, 2012

A Lime of a Time!

One of my favorite things to make, and that has proven quite popular, is lemon bars.


But I happened to have a plethora of limes on hand, so I swapped out my citrus in my tried and truly tested recipe.  I realized - when I googled the recipe and saw the date on the article (since the little recipe card I typed out after desecrating the original newspaper clipping is at my parent's house) that I've been baking this for 21 years.  Yikes.  (I was granted oven access at an early age.) 

So here it is my friends!  Enjoy.  Also, check out my new rug!  It's from Ikea and I think its cool! 

Wednesday, December 21, 2011

Secret Santa Fail (but a yummy recipe!)

We had Secret Santas at work last week, and I nearly killed mine. 


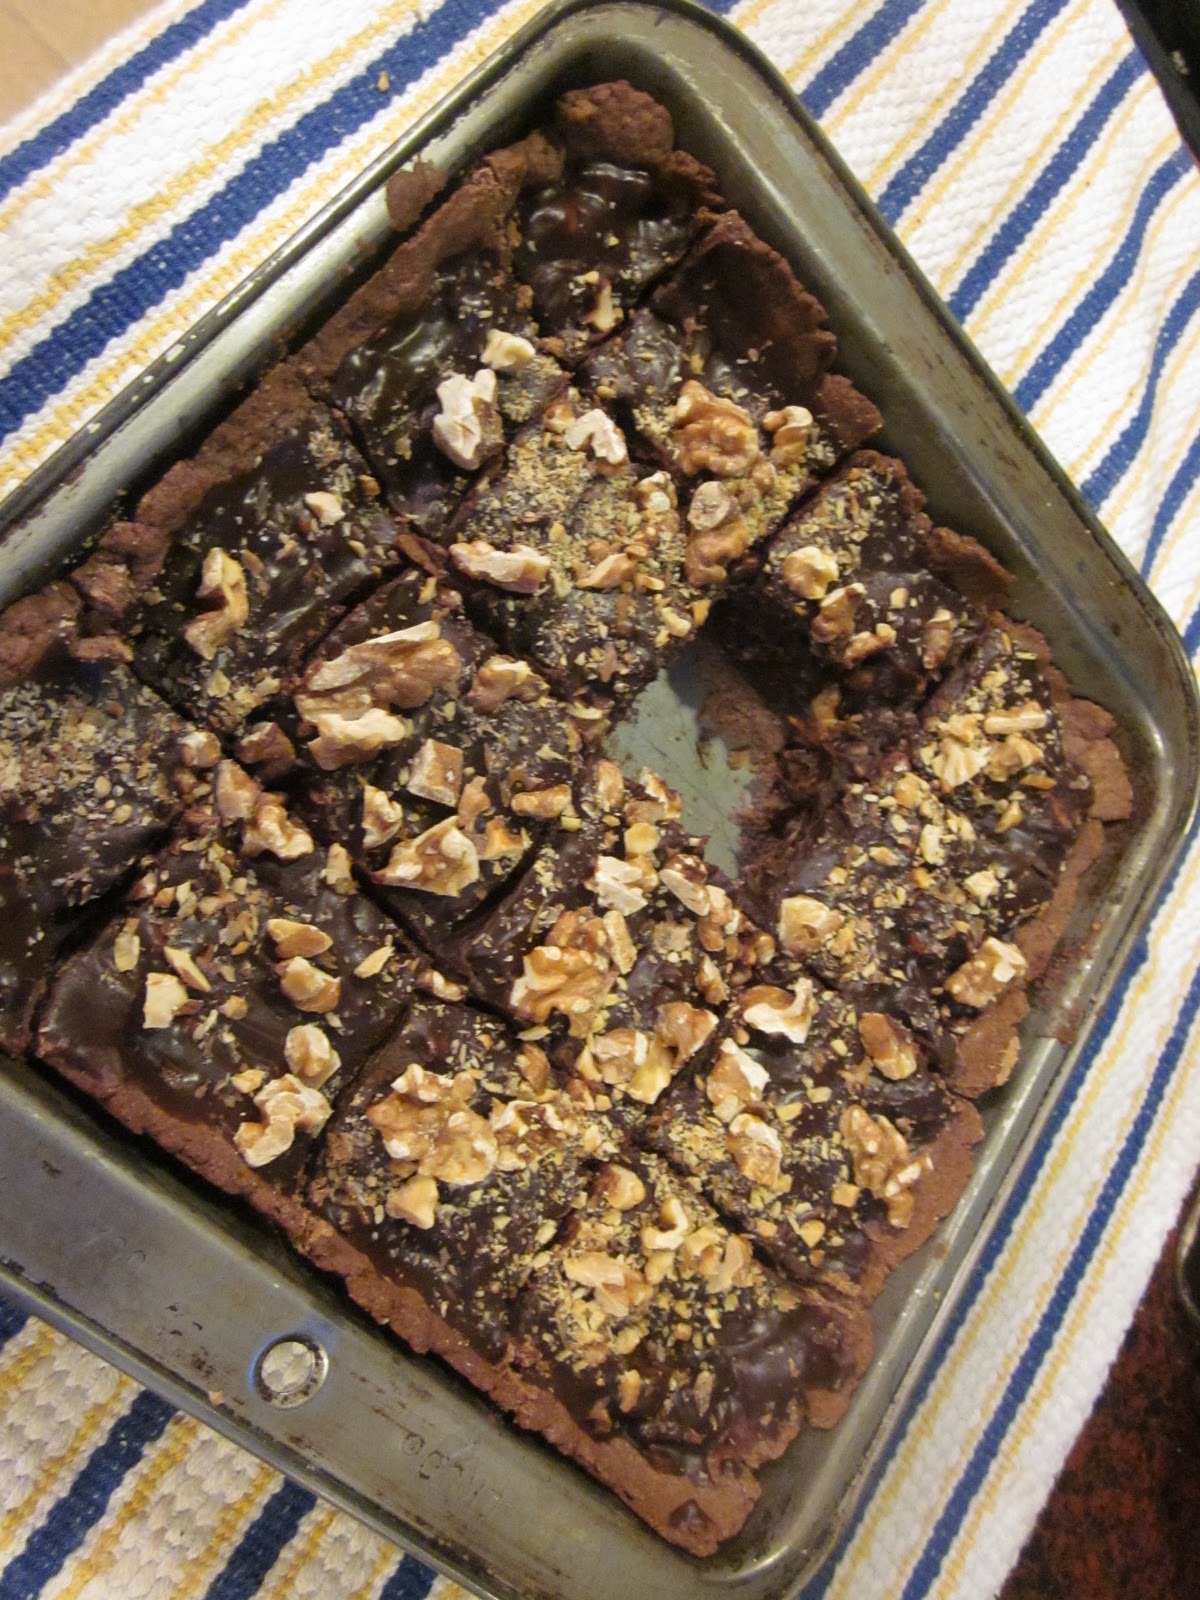
For a little surprise, I decided to make him some sweet treats, and tried out this recipe from Real Simple, for a Chocolate Pecan Tart.  Little did I know that he was allergic to nuts.  Yikes.  Luckily it was pretty clear from looking at them that they had nuts so he didn't eat any.  But I felt TERRIBLE and couldn't even apologize until a few days later because that would reveal my identity!  (I did make him some chocolate chip cookies to make up for it.)

Anyway, I sampled the recipe and it was really good!  If you like/aren't allergic to nuts.  I used walnuts instead of pecans because that is what I had, and added some extra chocolate chips and cream to fill out the larger pan I had used.  But overall, it was delish!  Try it yourself...makes a nice gift too, if you know your audience's dietary restrictions.  (So sorry, Frank!!!!)

Chocolate Pecan Tart
from Real Simple


serves 8     Hands-On Time: 15m      Total Time: 2hr 30m

Ingredients
1 3/4 cups pecan halves (I used walnuts)
1 1/4 cups all-purpose flour, spooned and leveled
1/4 cup unsweetened cocoa powder
1/2 teaspoon kosher salt, plus a pinch for the filling
1/2 cup (1 stick) unsalted butter, at room temperature
1/4 cup sugar
2 large egg yolks
1/2 pound semisweet chocolate, chopped (I ended up using an entire bag of chocolate chips, which is 4 oz more than 1/2 lb)
3/4 cup heavy cream (added some extra cream too, to melt the additional chips)

Directions
1.Heat oven to 350° F. Spread the pecans on a rimmed baking sheet and toast, tossing once, until fragrant, 6 to 8 minutes. Let cool, then roughly chop. In a medium bowl, whisk together the flour, cocoa powder, and salt.

2.Using an electric mixer, beat the butter and sugar on medium-high until creamy, 2 to 3 minutes. Beat in the egg yolks. Reduce mixer speed to low and gradually add the flour mixture; mix until combined but still crumbly.

3.Press the dough into the bottom and up the sides of a 4-by-14-inch rectangular (or 9-inch round) tart pan.  (I used a square 8x8 inch baking pan.)  Line with a large piece of parchment paper, leaving an overhang on all sides, and fill with dried beans or pie weights.  (I didn't have parchment and couldn't find my pie weights, so I skipped that.  The crust was a little puffy but it worked out fine.)  Place the pan on a rimmed baking sheet and bake until the edges of the crust are dry, 20 to 22 minutes. Remove the parchment and beans and bake until dry and set, 10 to 12 minutes. Let cool completely.

4.Meanwhile, in a large bowl, combine the chocolate and pinch of salt. In a small saucepan, bring the cream to a bare simmer; pour over the chocolate and let stand 1 minute. Stir gently until the mixture is smooth. Stir in 1½ cups of the pecans. Pour the mixture into the cooled tart shell and sprinkle with the remaining pecans. Refrigerate until set, at least 1 hour.

Sunday, December 18, 2011

Berry Bread

I was in a bread bakey kind of mood today, but couldn't find yeast at Pathmark.  I know it's there somewhere, but it was so crowded and crazy I couldn't deal with the search. 


But I did recall that I had wanted to try this recipe from Real Simple and had the ingredients on hand...kind of.  (Another instance of couldn't find something at Pathmark...this time I subbed a frozen berry blend for cranberries.)


It came our pretty well!  Tasty.  Although next time I might use walnuts instead of hazelnuts.  They seemed a little unwieldy and I think walnuts would work a little better.  But give it a shot!  This would make a nice gift loaf for the holidays...or anytime!

Emma's Attempt at Cranberry Hazelnut Bread
From Real Simple


Serves 8
Hands-On Time: 10m
Total Time: 2hr 30m

Ingredients
1 cup hazelnuts (again - I might try walnuts next.  Pecans or other nuts would probably work well too)
2 tablespoons unsalted butter, melted, plus more for the pan
1 1/2 cups all-purpose flour, spooned and leveled
1/3 cup granulated sugar
1/4 cup packed light brown sugar
1 tablespoon baking powder
1/2 teaspoon kosher salt
1/2 cup whole milk (the mixture seemed a little dry - I added a few tablespoons additional milk)
2 large eggs
1 tablespoon finely grated orange zest
1/2 teaspoon pure vanilla extract
1 1/2 cups fresh or frozen cranberries (I used frozen berry blend)

Directions

1.Heat oven to 350° F. Spread the hazelnuts on a large rimmed baking sheet and toast in oven, tossing occasionally, until fragrant, 10 to 12 minutes. Rub the warm nuts in a clean dish towel to remove the skins (discard the skins); coarsely chop.  (I let the nuts cool before removing the skins - try it when they are still warm.  It will make life easier.)

2.Butter an 8½-by-4½-inch loaf pan. In a medium bowl, whisk together the flour, sugars, baking powder, and salt. In a small bowl, whisk together the butter, milk, eggs, orange zest, and vanilla; add to the flour mixture and mix until just combined (do not over mix). Fold in the hazelnuts and cranberries.

3.Transfer the batter to the prepared pan and bake until a toothpick inserted in the center comes out clean, 55 to 65 minutes (tent with foil if the top browns too quickly). Cool in the pan for 30 minutes, then transfer to a wire rack to cool completely.


Tuesday, September 6, 2011

Witch's Brew, Oooo!

Happy Fall!  OK, so I know it's not officially autumn for another few weeks, but you can't wear white shoes until May, so post-labor day seems like fall to me.  (Not that I have any white shoes, anyway.)

We've still got some more summery weather to enjoy, so this recipe might be premature, but I tested it for celebrations.com recently and man, did it smell autumnal.  It made me want to wrap my hands around a hot mug of it after apple picking on a crisp fall day.  Not there yet, OK.  But you should check it out, anyway! 

As is it might be a little sweet - test it, and feel free to add some plain brewed tea, unsweetened, if you wish.  Kids will probably like it as is.  If you do choose to add alcohol, that will cut the sweetness too, of course. 

Anyway, its delish, and made my apartment smell divine.  Try it out!

Saturday, September 3, 2011

Punch it Up!

 How I spent my summer vacation: making mass quantities of delicious Halloween Punch!  Not to worry though, today's recipe is fun year round, and kids will LOVE it.  I mean seriously, look at how happy Dorian is to try it:
He actually said that the thing he was most excited about for vacation was drinking punch.  So it's got his seal of approval.  That should be enough, right? 

  
 So, swing on over to celebrations.com for the full recipe - its fun and easy, and a real crowd pleaser for the small set. 

Ta da!  Toad-ally Tasty Punch. 

Thursday, September 1, 2011

Rat-tat-too-eee

I haven't done too much cooking lately (but have done a lot of eating!) so I thought I'd make something relatively healthy that I could keep on hand, and freeze too, so I'd have veggies in easy and edible reach. 
And what better to make from the abundance of late summer vegetables than Ratatouille?  (Pronounced rat-tat-oo-eee, in case you're wondering).   This is a great dish that is tasty on its own as a vegetable stew with some good bread, or try it over pasta, rice or cous cous, inside an omelet - there are a ton of ways to enjoy it!  Try it.  Its good, really!  And good for you too. 


This is the classic ratatouille recipe, in my opinion - I definitely remember having The Silver Palate cookbook come out quite often throughout my childhood for various party foods.  I have my own copy now, score!  Anyway, I sort of adjusted it - you don't really need two whole cups of olive oil, sheesh, but feel free to adjust the seasoning to your liking!  Its a pretty forgiving recipe.  Enjoy. 
RATATOUILLE

Ingredients
  • 2 c best quality olive oil (I did not use this much by far)
  • 4 small eggplants, bout 4 lbs each in total, cut into 1 1/2 inch cubes (I used about 3 lbs)
  • 2 tsp salt
  • 1 1/2 lbs white onions; peeled & coarsely chopped (I used 2 very large onions)
  • 7 medium sized zucchini; washed, trimmed, quartered lengthwise and cut into 2 inch strips (I used 6 small, plus 2 medium yellow squash instead)
  • 2 medium sized sweet red peppers; stemmed, seeded, cut into 1/2 inch strips (I don't like peppers - skipped this)
  • 2 medium sized green bell peppers; stemmed, seeded, cut into 1/2 inch strips (I don't like peppers, skipped this too)
  • 2 tbsp minced garlic
  • 3 cans (16 oz each) Italian peeled plum tomatoes, drained (save the juice, just in case)
  • 1 can (6 oz) tomato paste (I used the drained juice instead)
  • 1/4 cup chopped fresh Italian parsley (I didn't have this so I skipped it)
  • 1/4 cup chopped fresh dill (also didn't have this, so I skipped it)
  • 2 tbsp dried basil (I had fresh so I used about 1/2 cup chopped)
  • 2 tbsp dried oregano
  • Freshly ground black pepper to taste
  • And you know I tossed in some hot sauce, right?
You're going to need a BIG pot for all of this, in addition to a roasting pan (or a few smaller baking dishes), skillets, tin foil, plus various knives, measuring cups, cutting board, etc.  Just warning you.  I had to use two pans because the first was overflowing before the eggplant went in.   
Directions
 1. Preheat oven to 400 degrees Fahrenheit.

 2. Line a large roasting pan with foil and pour in 1 cup oil. (OK, I don't have a roasting pan, so I used one 13x9 baking pan, plus a couple of smaller ones to accommodate all the eggplant.  Also, you don't need 1 cup of oil.  Put a few tablespoons on the bottom, then toss in your eggplant and drizzle some more on top.) Add eggplant, sprinkle with salt and toss well. Cover pan tightly w/foil and bake for 35 min until eggplant is done but not mushy (Mine went longer - test it and see after 35 minutes). Uncover and set aside.

3.  While eggplant cooks, in a (very!) large skillet or 2 smaller skillets, heat remaining oil  (again, you don't need a full cup.  Use a few tablespoons to coat the pan, and add a little more if it starts to stick.) Saute onions, zucchini, peppers and garlic over medium heat until wilted and lightly colored, about 20 minutes.  Add tomatoes, paste (I used the drained tomato juice), and spices. Simmer for 10 minutes, stirring occasionally.

 4.  Add eggplant and simmer another 10 minutes. Taste and correct seasoning. Serve hot or at room temperature.

12 portions.
This makes a TON!  I seriously used almost all of my Tupperware to pack it up.  Its great for a party or a large group, or you can freeze it and eat some later.  Yum!

Wednesday, August 17, 2011

Muffin Mania!

So, I meant to make these for a breakfast treat for the car ride to Rehoboth Beach, Delaware last week, where I went on vacation with my family.  But, I ran out of time and got bagels instead. 


I tossed the blueberries in the freezer and threw these Blueberry Cornmeal Muffins together when I got home, since I had all the ingredients.


But woah!  As I stirred the frozen blueberries in the mix, their skins started peeling off!  It was like taking the mask of of Darth Vader - inside they are all greenish and pale and sickly looking.  I did go a little overboard on the berries to compensate- recipe only called for a cup but I threw the whole pint in, so they were a little less muffin like, a little more massive blueberry craters interspersed with dough bridges throughout.  Definitely edible, though! 

BLUEBERRY CORNMEAL MUFFINS

Ingredients
1-1/4 cups all-purpose flour
3/4 cup cornmeal
1/4 cup sugar
2 teaspoons baking powder
1/2 teaspoon salt
1 cup fresh or frozen blueberries
1 cup milk (I used yogurt that was nearing its expiration date)
1/4 cup vegetable oil
2 egg whites

Directions
In a large bowl, combine flour, cornmeal, sugar, baking powder and salt. Add blueberries. Stir in milk and oil just until mixed. In a bowl, beat egg whites until stiff peaks form (I used my kitchen aid mixer); fold into batter. Fill greased or paper-lined muffin cups two-thirds full. Bake at 400° for 20-25 minutes or until muffins test done. Yield: about 1 dozen (mine made 16).


Tuesday, June 21, 2011

Healthy Mac & Cheese!

...and cauliflower.  But seriously, before you stop right there - its seriously delish!  Give it a shot, please?

 Looks yummy and cheesy and good, right?  Right.  Homemade Mac & Cheese is one of my absolute favorite dishes, and while this doesn't quite measure up to my Dad's recipe, topped with Ritz crackers, its a pretty damn good second place.

 I saw a recipe in People Magazine while reading over a lady's shoulder on the train the other day, and thought it would be a good idea to try out mac & cheese with cauliflower.  But when I googled the recipe (you can find it here, here, and on various blogs around the web) - by Masterchef winner Whitney Miller, I saw that it used heavy cream, and a lot of cheese, so I wanted to try to lighten it up myself.  I found this recipe from Shape Magazine which I used for a template, but it seemed a little fussy...so anyway, here is my take on it. 


CAULIFLOWER MAC & CHEESE
Serves 4 - Prep time 20 minutes - Cooking time 35 minutes

INGREDIENTS
*1 bag frozen cauliflower (16 oz/1 lb)
*1/2 cup whole wheat macaroni
*1 small onion, diced
*2 cloves garlic, minced
*2 cups nonfat milk
*2 tbsp butter
*2 tbsp flour
*3/4 cup reduced fat cheese (I used mozzerella)
*2 tbsp pepper sauce, like Frank's
*2 tbsp Dijon mustard
*salt & pepper to taste
*2 tbsp grated Romano or Parmesan cheese
*cooking spray

DIRECTIONS
Preheat oven to 425 degrees F.  Fill a large pot with water.  Cover and bring to a boil.  Cook cauliflower for 2 minutes.  Scoop out with a slotted spoon, rinse with cold water in a colander.  Set aside.  
Add macaroni to boiling water and cook until al dente.  Drain, and add to cauliflower.  Set aside.

While macaroni cooks, heat small saute pan over low heat, and coat with cooking spray.  Add minced garlic and cook for about 2 minutes, stirring often.  Add onion, and cook until translucent, about 5 minutes.  Remove from heat and set aside.

In medium saucepan over low heat, melt butter.  Whisk in flour until smooth and cook for 2 minutes.  Whisk in milk; cook for 10 minutes, stirring often, until mixture begins to simmer.  Add mustard, pepper sauce, salt and pepper and stir until smooth. 

While milk mixture is cooking, coat 12x10 inch ovenproof dish with cooking spray.  Place cauliflower/macaroni mix in dish, stirring to make sure macaroni and cauliflower are evenly distributed.  Sprinkle with half of shredded cheese and set aside.

After milk mixture begins to simmer lightly, add half of shredded cheese and whisk until smooth.  Pour this over cauliflower and macaroni evenly.  Sprinkle with grated cheese and bake for 30 minutes, until bubbling and just beginning to brown. 

Let cool for a few minutes and serve.  Hope you like it!  You can adjust the spices to your liking, or even add more veggies to fill it out - a great dinner!  Well, maybe not for 80+ degree days, but still a solid meal :)

Let me know what you think, or if you have any questions about my recipe! 

Tuesday, April 5, 2011

Fondue Festival of Fun

This weekend I had my very first dinner party in my new aapartment - yay!  Lifelong dream come true!  I wanted to do something fun and fancy - so I made fondue! 

Daniel, Julie and Matt liked it, apparently.  And Matt is not trying to stab Julie with his fondue fork (man do I love those things - I want to eat all my food with it!).  He is just ready for his next bite. 

For dipping, I had bread cubes, carrots, clementines, veggie sausage, apples, mushrooms (which I forgot in the fridge), grape tomatoes and cauliflower.  Way too much food for 4 people, but we didn't leave hungry and I had a lot of leftovers!  It was my first try at fondue, and I used this article and accompanying recipes for inspiration.  The one I selected was made with cheddar and beer - a little stringy, but still very tasty (if messy!) 

And nothing goes with fondue like cupcakes from Butter Lane, right?  RIGHT?  Matt brought an assortment that we sampled - chocolate with strawberry frosting, chocolate with caramel frosting topped with kettle corn, vanilla with cinnamon honey frosting, and classic vanilla with chocolate. 

But that's not all - both of these are banana cake, one with cream cheese frosting and the other with peanut butter chocolate!  Yum!  I love how you can mix and match cakes and frostings at Butter Lane.  Plus they seem to have Groupons a lot so you might be able to get a deal! 

Overall, a success!  Can't wait to do it again - and have some more fondue experiments. 

Tuesday, March 29, 2011

Spaghetti Squash!

Spaghetti Squash is one of those things I've always been curious about - never tried to make it on my own, even after tasting it once and liking it quite a bit.  Also, I eat noodles a lot (like a WHOLE LOT) and thought this might be a good way to lessen my carb intake but still get that warm pasta with sauce feeling. 
A kind young gentleman offered me a  trip to Fairway, in a car no less, so I picked one up - not having to lug the heavy veggie home left me with little excuse not to. 


I have a lot of cookbooks, and several veggie-centric ones - but oddly enough none of them had a recipe or directions on how to cook a spaghetti squash!  Luckily, the Internet came to the rescue - I found this post  with several different cooking options.  I went with the quartering and baking option - 45 minutes later (and some weird smell from my brand new oven) I was starved and ready to eat.  Could have used a few more minutes, perhaps but it was good!  (Also, I ignored the "rind side up" direction until about 30 min in so that might have warped the cooking time a bit.) 

Going at it with a fork to shred it up was fun too.  I topped it with some chopped tomatoes and vodka sauce and it made for a tasty dinner - with plenty left over for later. 


So, this will never replace my first true love - pasta - but it was a fun new thing to try!  I toasted the seeds and chowed down on those too - pumpkin seed style.  Yum!

Monday, March 28, 2011

Spicy Soup!

More home cooking in my new kitchen!  This weekend I whipped up a fun and fast soup, thanks to a recipe in the latest Real Simple magazine. 


This was so quick to make!  Like, too quick even - I was still chopping veggies when the broth had boiled enough and it was time to pop them in the pot already!  (I'm not quite an organized cook.) It came out great, even with a few adjustments on my part.  Overall highly recommended!  A great vegetarian dish, that's quite filling, and can definitely carry on out of "soup season" into the spring with its light fresh tastes!  Check it out.

THAI CURRY VEGETABLE & TOFU SOUP
from Real Simple, April 2011

Serves 4*Hands-On Time: 30m*Total Time: 30m

INGREDIENTS
1 tablespoon Thai red curry paste (My supermarket was lacking in options, and I wasn't up for a trip to Chinatown, so I used the red rooster garlic/chili sauce.  Worked well!  Although I doubled the dose - I like it spicy!)
1 teaspoon grated fresh ginger
2 cups low-sodium vegetable broth
1 14-ounce can coconut milk (I used light coconut milk - worked fine!  And saved a few calories, too.)
kosher salt
1/2 pound shiitake mushrooms, stems removed and caps thinly sliced (Used regular white mushroom here - way cheaper than shiitake!  And still tasty.)
4 ounces green beans, halved
2 carrots, halved lengthwise and sliced crosswise
14 ounces extra-firm tofu, drained and cut into cubes
4 ounces snow peas (I couldn't find these in my store.  So I skipped them, and added a few more green beans.  Still good!)
2 tablespoons fresh lime juice
1/4 cup torn fresh basil leaves
Asian chili garlic sauce, for serving

DIRECTIONS
1.Place the curry paste and ginger in a medium saucepan. Whisk in the broth, coconut milk, and 1 teaspoon salt and bring to a boil.
2.Add the mushrooms, green beans, and carrots to the saucepan and simmer until just tender, 3 to 5 minutes. Add the tofu and snow peas and simmer until the snow peas are bright green, about 1 minute more.
3.Stir in the lime juice. Sprinkle with the basil and serve with the chili garlic sauce.

Made a great lunch for work today too!  And check out my cute new bowls from Ikea.  I'm like a real grown up with dishes and everything!  Woo hoo!

Thursday, March 17, 2011

Welcome Home!

Hi Friends!  I know, its been a while.  My latest news is that I've moved to a new apartment!  I have a cute little place all my own to call home now.  I've been there a couple of weeks, but just made my first real dinner last night - lack of cooking utensils was thwarting my chef skills: ie, I had no knives, and no time to purchase them yet. 

But that has since been rectified thanks to some sweet hand-me-downs from Grandma and Grandpa!  Check out my mushroom stroganoff!  It was pretty good.  The recipe is from Cooking Light: Fresh Food Fast, but I came across it on this blog. (Thanks Teresa!)  Now all I need are some plates, and i'm good to go for a dinner party!

Mushroom Stroganoff

By Fresh Food Fast by Cooking Light

Ingredients
3 1/2 cups uncooked medium egg noodles (I used whole wheat just for kicks)
cooking spray
5 (4 oz) packages fresh gourmet-blend mushrooms (This is what the recipe calls for - I just used a 10 oz package and sliced them up myself - perfectly good!)
1 cup coarsely chopped onion
3 tablespoons all purpose flour
1 1/2 cups reduced fat milk
3 tablespoons dry sherry (I omitted this - would give it more flavor.  Could use wine or stock too)
2 tablespoons butter
1/2 teaspoon salt
1/2 teaspoon freshly ground black pepper
1/2 cup reduced fat sour cream
1 1/2 teaspoon finely chopped chives (optional)

Directions

1. Cook noodles according to directions
2. While noodles cook, heat a large Dutch oven over high heat; generously coat pan with cooking spray. Add mushroom and onion; cook 10 minutes, or until browned, stirring frequently.
3. While mushroom mixture cooks, melt butter in a saucepan.  Incorporate flour with a whisk.  Once combined, gradually add milk with a whisk.  Cook, whisking constantly, 3 minutes or until slightly thickened.  Add salt and pepper, and sherry. (A little hot sauce here would be good, too). 
4. Stir sauce and cooked noodles into mushroom mixture. Stir in sour cream; sprinkle with chives, if desired. Serve immediately.

Serves 4: Serving is 1 3/4 cups
Per Serving: 393 cal, 12.6g fat, 15g prot, 55.2g carb, 3.5g fiber

Monday, January 24, 2011

Soup's On!

One thing that's great about chilly weather is sitting down to a nice hot bowl of soup - I made some lentil this weekend and it came out great!  Very simple and good for you too.  Try it!


CLASSIC LENTIL SOUP
from How to Cook Everything Vegetarian by Mark Bittman
Makes 4 servings.  Time: About 1 hour

Ingredients:
1 cup dried lentils, washed and picked over
1 bay leaf
Several sprigs fresh thyme, or a few pinches dried
1carrot, cut into 1/2 inch dice
1 celery stalk, cut into 1/2 inch dice
6 cups vegetable stock or water (more as needed)
salt & pepper
2 tbsp extra virgin olive oil
1 onion, chopped
1 teaspoon minced garlic

Directions
1. Put lentils, bay leaf, thyme, carrot, celery and stock into a deep skillet or medium saucepan.  Sprinkle with salt and pepper.  Bring to a boil, then turn heat to low and cook, stirring occasionally, until lentils are tender, about 30 minutes.

2. Meanwhile, put olive oil in small skillet over medium heat.  Add onion and cook, stirring, until softened, about 5 minutes.  Add garlic and stir, then cook for 1 minute more.  Turn off heat.

3. When lentils are tender, fish out bay leaf and thyme sprigs and stir onion mixture into the soup.  Add more stock if soup it too thick, taste and season if needed.  Serve. 

This was really tasty and you can reheat it for a later meal too!  I didn't have celery so I omitted that, and added more carrots for fun.  Happy cooking! 

Sunday, August 1, 2010

Sunday Summer Salad Pizza

This is what I ate for dinner tonight- it looked so pretty I thought I'd share it. 


Have you ever had salad pizza?  It is so good, and so easy too!  It makes a perfect summer supper.  Try it - you'll like it!!!


SUMMER SALAD PIZZA

Thursday, July 29, 2010

Summer Side Salad Delight

I could eat pasta every day for dinner.  In fact, I usually do. 


Last night I mixed it up a little, kind of, and tried this Weight Watchers recipe - it was pretty good!  (Yes, I know Orzo is technically a pasta, but it looks like rice so I'm considering it Rasta.)  I think its meant for a side dish and would be great at a BBQ if your guests are adventurous/tired of the same old noodle salad. 

Orzo-Chickpea Salad, via WeightWatchers.com

POINTS® Value: 5 (if you're into that sort of thing)
Servings: 6
Prep Time: 15 min
Cooking Time: 15 min

INGREDIENTS
8 oz uncooked orzo (half a 1 lb box)
cooking spray
2 small zucchini, chopped
1/8 tsp table salt, or to taste
1/4 cup(s) parsley, leaves, firmly packed, chopped (I used basil, since I didn't have parsley)
15 oz canned chickpeas, drained and rinsed
1/2 cup(s) dried cranberries (I used golden raisins since I had them on hand)
1 tsp olive oil, extra-virgin
1/4 cup(s) red wine vinegar
1/8 tsp black pepper, or to taste

DIRECTIONS
Cook orzo according to package directions; set aside.

Meanwhile, coat a large nonstick skillet with cooking spray and heat over medium-high heat. Sauté zucchini, lightly salting it as it cooks, until slightly crisp, about 2 to 3 minutes; allow to cool.

Place zucchini in a large bowl and add remaining ingredients (including orzo); toss to combine. Allow salad to marinate in refrigerator for at least half an hour before serving. It may be served cold or at room temperature.

(I ate it pretty much right away and it was still good, without marinating.  Am having it for lunch today too - so it should be even better!)

Friday, July 16, 2010

A Good Snack

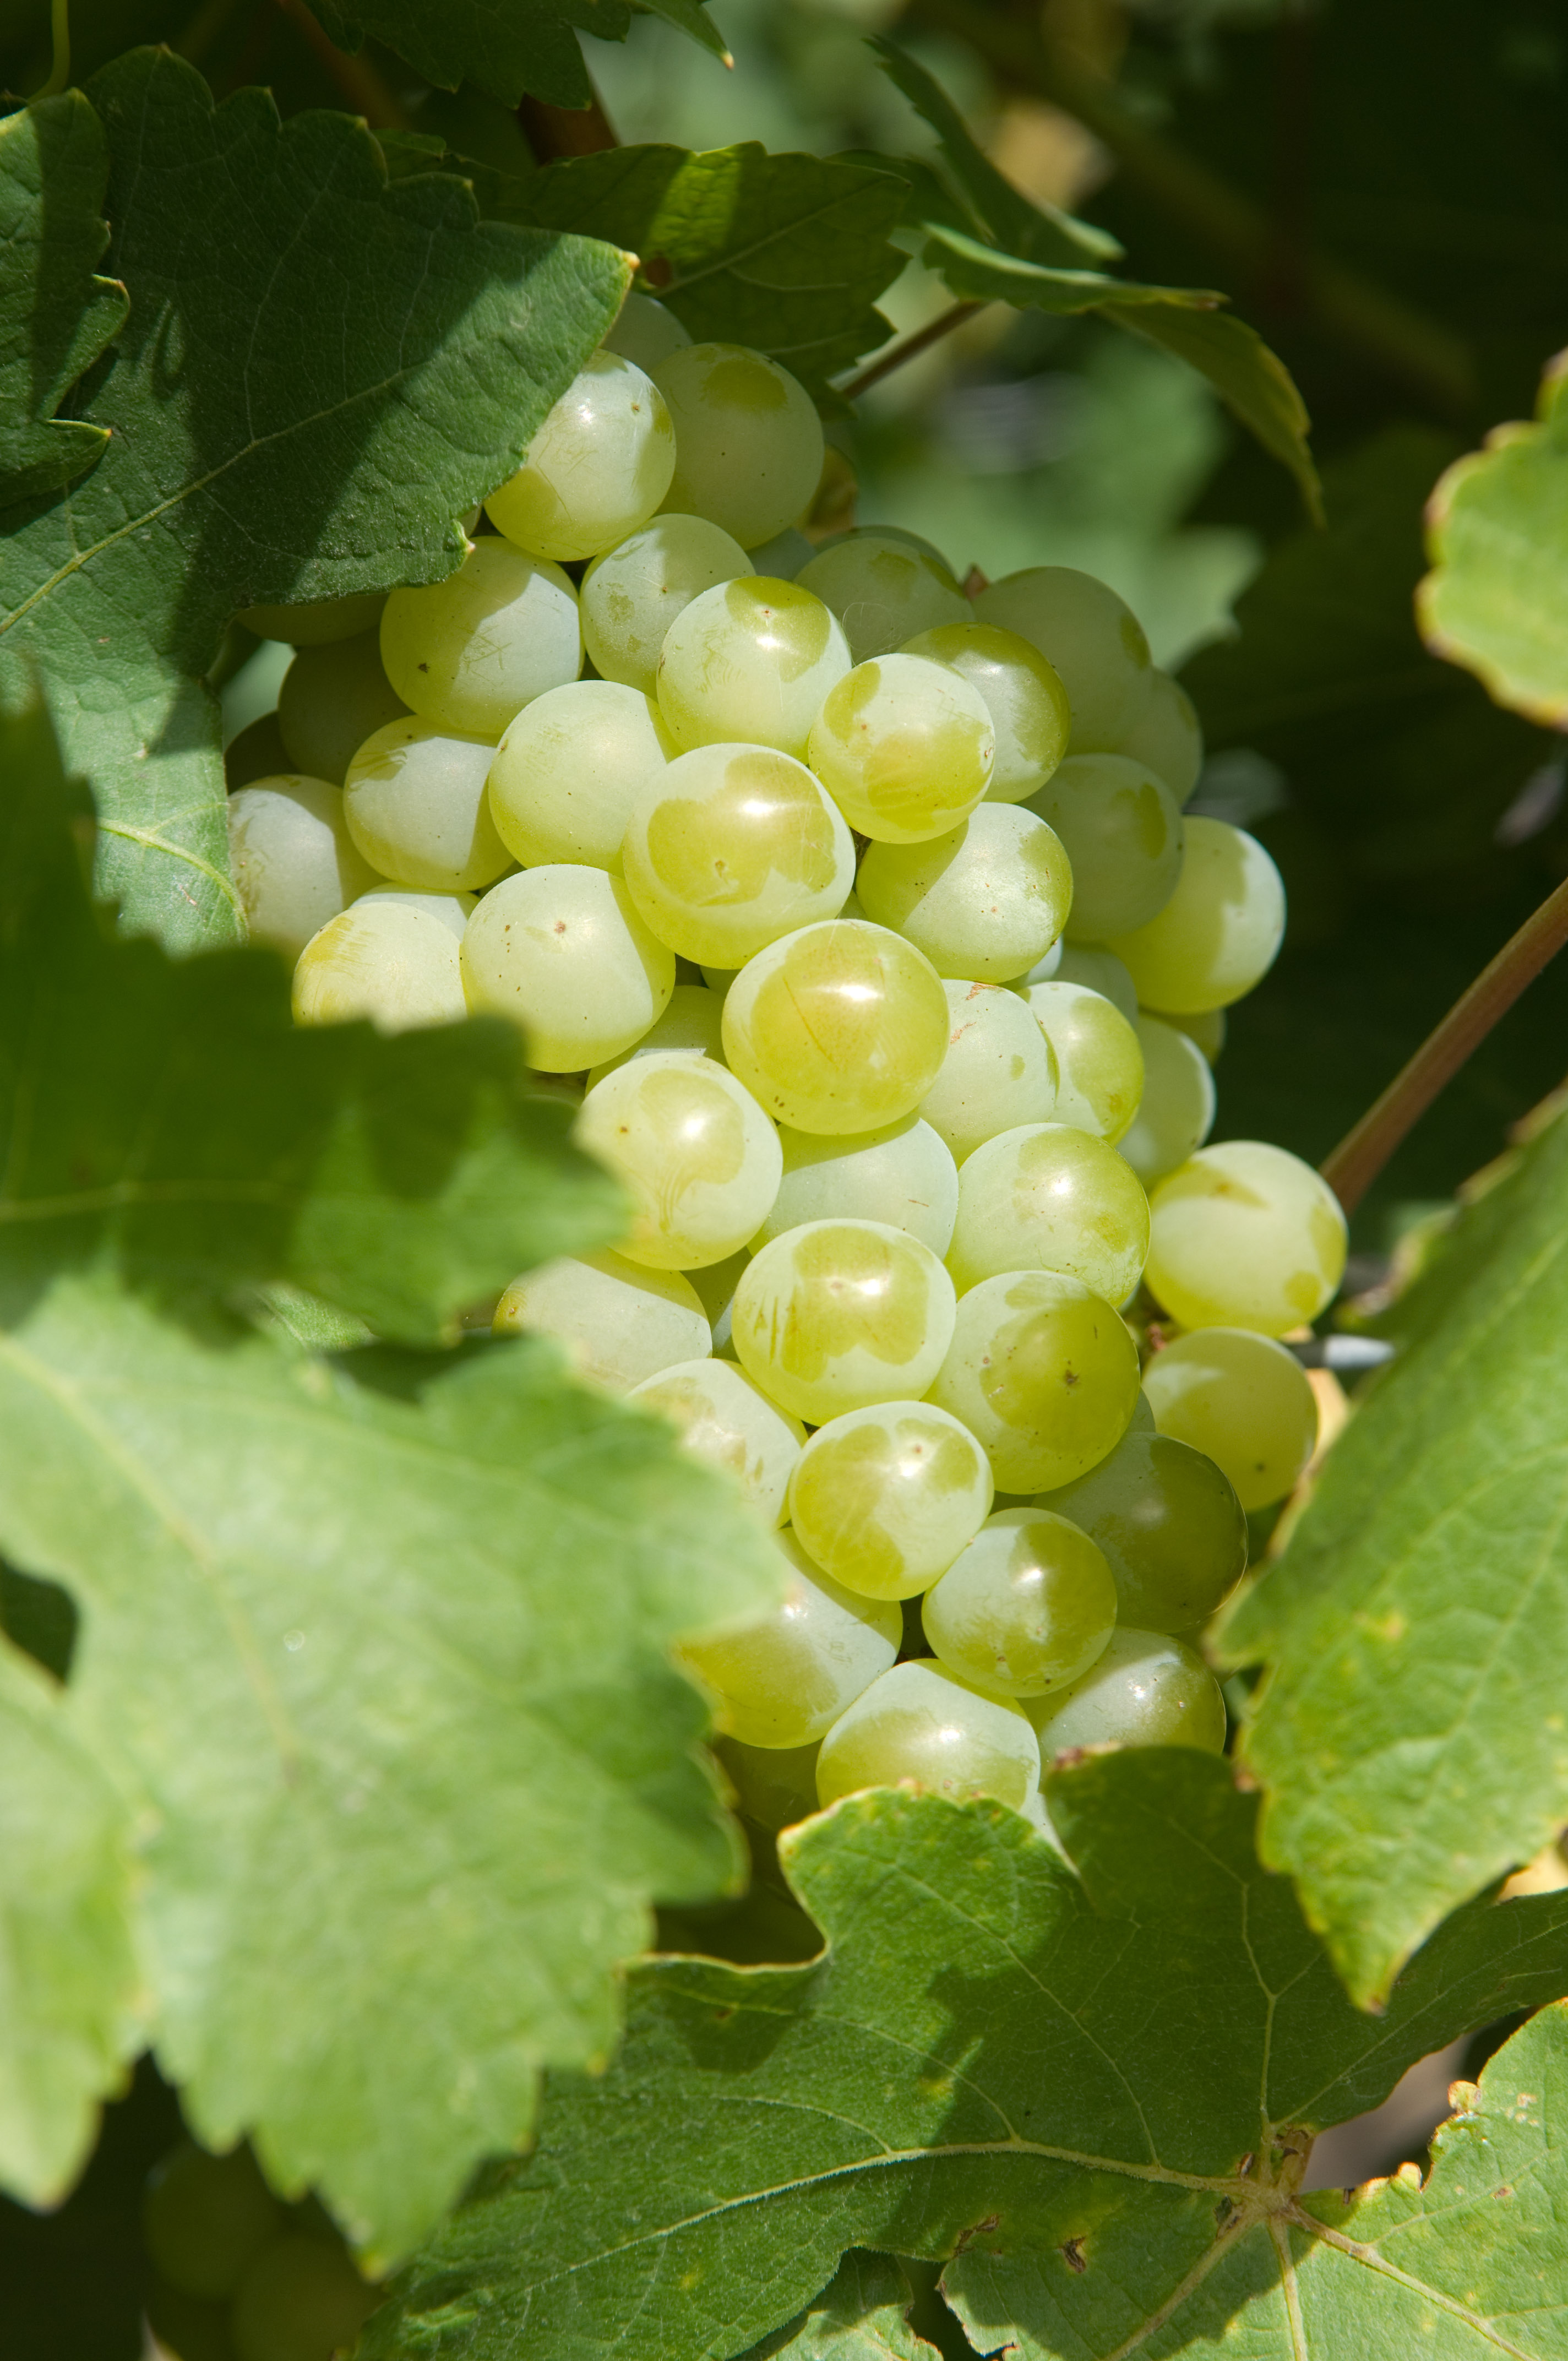
You know what is so great to eat?  Frozen grapes. 


Good and good for you, especially in the summer.  Have you tried this before?  I love it - I buy a bag of grapes from the fruit man (I like the green ones), rinse them off and stick them in the freezer.  Soon they are done - like little frozen candy popsicles!  Delightful.